Printable photo collage templates
Paper is unforgiving in a way a screen is not: a collage that looks sharp on a phone can arrive soft, cropped at the edges and darker than expected. All three are avoidable, and all three are decided before you place the first photo.
A4 print 2480x3508
A3 print 3508x4961
Square print 3000x3000
The rule that governs everything below: a print is described in centimetres and made in pixels, and the conversion has to happen first. Choosing a size afterwards means resampling, and resampling is where sharpness goes. Every template here starts at a real paper size in the pixels that paper needs.










Made with StudioCollage
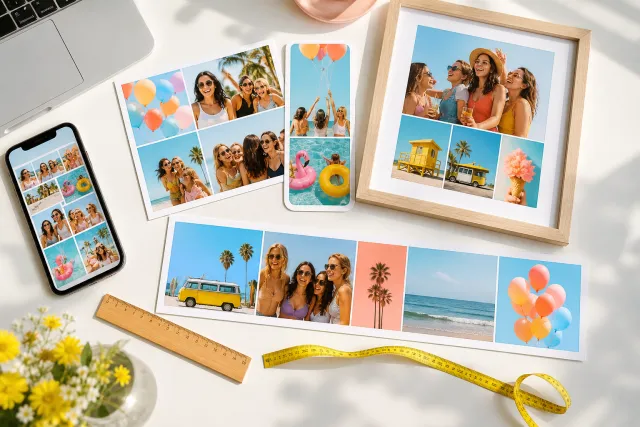
Every collage below was made in the editor itself, at full resolution. Open one to start from it.
 Open in the editor
 Open in the editor
 Open in the editor
 Open in the editor
 Open in the editor
 Open in the editor
 Open in the editor
 Open in the editor
 Open in the editor
 Open in the editor
 Open in the editor
 Open in the editor
 Open in the editor
 Open in the editor
 Open in the editor
 Open in the editor
 Open in the editor
 Open in the editor
 Open in the editor
 Open in the editor
 Open in the editor
 Open in the editor
 Open in the editor
 Open in the editor
 Open in the editor
 Open in the editor
 Open in the editor
 Open in the editor
 Open in the editor
 Open in the editor
 Open in the editor
 Open in the editor
 Open in the editor
 Open in the editor
 Open in the editor
 Open in the editor
 Open in the editor
 Open in the editor
 Open in the editor
 Open in the editor
1. The sizes, in the pixels a printer wants
These are at 300 DPI, which is what a photo lab and a home printer both expect for a photograph.
| Paper | Centimetres | Pixels at 300 DPI |
|---|---|---|
| A4 | 21 x 29.7 | 2480 x 3508 |
| A3 | 29.7 x 42 | 3508 x 4961 |
| A5 card | 14.8 x 21 | 1748 x 2480 |
| 8 x 10 inch frame | 20.3 x 25.4 | 2400 x 3000 |
| Square, 30 cm | 30 x 30 | 3543 x 3543 |
Working out any other size is one multiplication: centimetres divided by 2.54, times 300.
2. Why 300 DPI is the wrong target for a poster
300 DPI is right for something held in the hand and wrong for something on a wall, and following it blindly is how people end up with an impossible file.
Resolution requirements come from viewing distance, not from paper. A card is read at 30 cm, so it needs 300 DPI. A poster is seen from two metres, where the eye cannot resolve anything like that, and 150 DPI is indistinguishable. That matters because it halves the pixels in each direction: an A2 poster at 300 DPI is 7016 x 9933, and at 150 it is 3508 x 4967, which your photos can actually fill.
| Seen from | Use | Example |
|---|---|---|
| 30 cm | 300 DPI | Card, photo book, small print |
| 1 m | 200 DPI | Framed print on a desk or shelf |
| 2 m and beyond | 150 DPI | Poster, wall print, canvas |
The full reasoning, with what happens when you go lower, is in the poster guide.
3. What the printer trims off
Commercial printing cuts through a stack of paper, and the cut is never exact. So a printer asks for bleed: 3 mm of extra image on every side that they expect to destroy.
Two consequences that catch people out. Anything within 3 mm of the edge may not survive, so a collage whose photos run to the very edge can lose a strip. And anything within about 8 mm of the edge is at risk of looking off centre even when it survives, because the cut wanders.
So: keep a margin of at least a centimetre inside the paper edge, and let the background run to the edge rather than the photos. A home printer is different again, since it usually cannot print to the edge at all and leaves a white border whatever you do.
4. Why the print came out darker
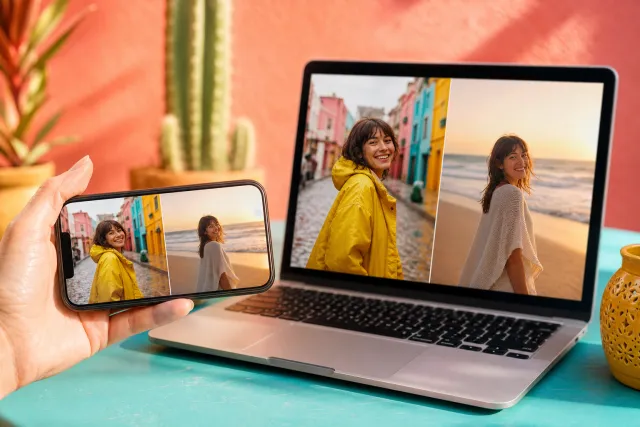
Almost every first print is darker than the screen, and it is not a fault in the file. A screen emits light and paper reflects it, so a bright screen flatters a photo that paper cannot.
What helps, in order of effect: choose photos that are already bright rather than correcting afterwards; avoid collages that are mostly dark cells, because ink pooling in adjacent dark areas is what makes a print look muddy; and prefer a light background, which gives the eye a reference and makes the photos read brighter than they measure.
Where a lab offers it, matte paper hides this better than gloss. Gloss is more contrasty in a shop and more disappointing on a wall.
5. How many photos a print can carry
The opposite answer from every screen format, and the one reason print collages are worth making.
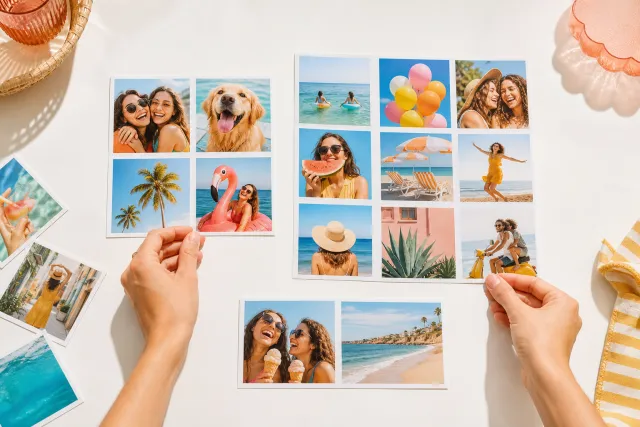
A face in a cell of a nine photo grid on a phone is about the size of a fingernail. The same grid on A3 gives each face several centimetres, so it stays a photograph. Print is the only place where nine or twelve cells make sense, and where a year of photos in a grid works as an object.
The limit is the paper, not the number: on A5 a nine cell grid is back to fingernails.
6. Make one
Pick a template above and it opens at that paper size in the right pixels. Drop your photos in, keep a margin inside the edge, and export. The file will be large, which is correct: a 2480 x 3508 export is meant to be several megabytes.
Where to have it printed, and what to ask for, is in the printing guide. The screen sizes are on the Instagram page and the story page.
Questions about Print collages
What size should a printable collage be?
2480 x 3508 for A4, 1748 x 2480 for an A5 card, 2400 x 3000 for an 8 x 10 inch frame, 3508 x 4961 for A3. Those are 300 DPI, which is what a lab expects for something held in the hand. Set the size before placing photos: changing it afterwards resamples everything.
Is 300 DPI always right?
No, and following it blindly produces files nobody can fill. Resolution comes from viewing distance. A card read at 30 cm needs 300 DPI; a poster seen from two metres is indistinguishable at 150, which halves the pixels in each direction and makes an A2 poster achievable rather than theoretical.
What is bleed and do I need it?
Three millimetres of extra image on every side that the printer expects to cut off, because trimming through a stack of paper is never exact. If you are ordering from a lab, keep at least a centimetre of margin inside the paper edge and let the background run out rather than the photos.
Why is my print darker than my screen?
A screen emits light and paper reflects it, so paper cannot reach the brightness you were judging by. Choose photos that are already bright, avoid collages made mostly of dark cells, and prefer a light background. Matte paper hides the difference better than gloss.
How many photos can I put in a printed collage?
More than on a screen, and this is the reason print collages are worth making. Nine or twelve cells on A3 still give each face several centimetres, so it stays a photograph, whereas the same grid on a phone reduces a face to a fingernail. On A5 the limit comes back.