How to print a photo collage: sizes, resolution, bleed and where to print
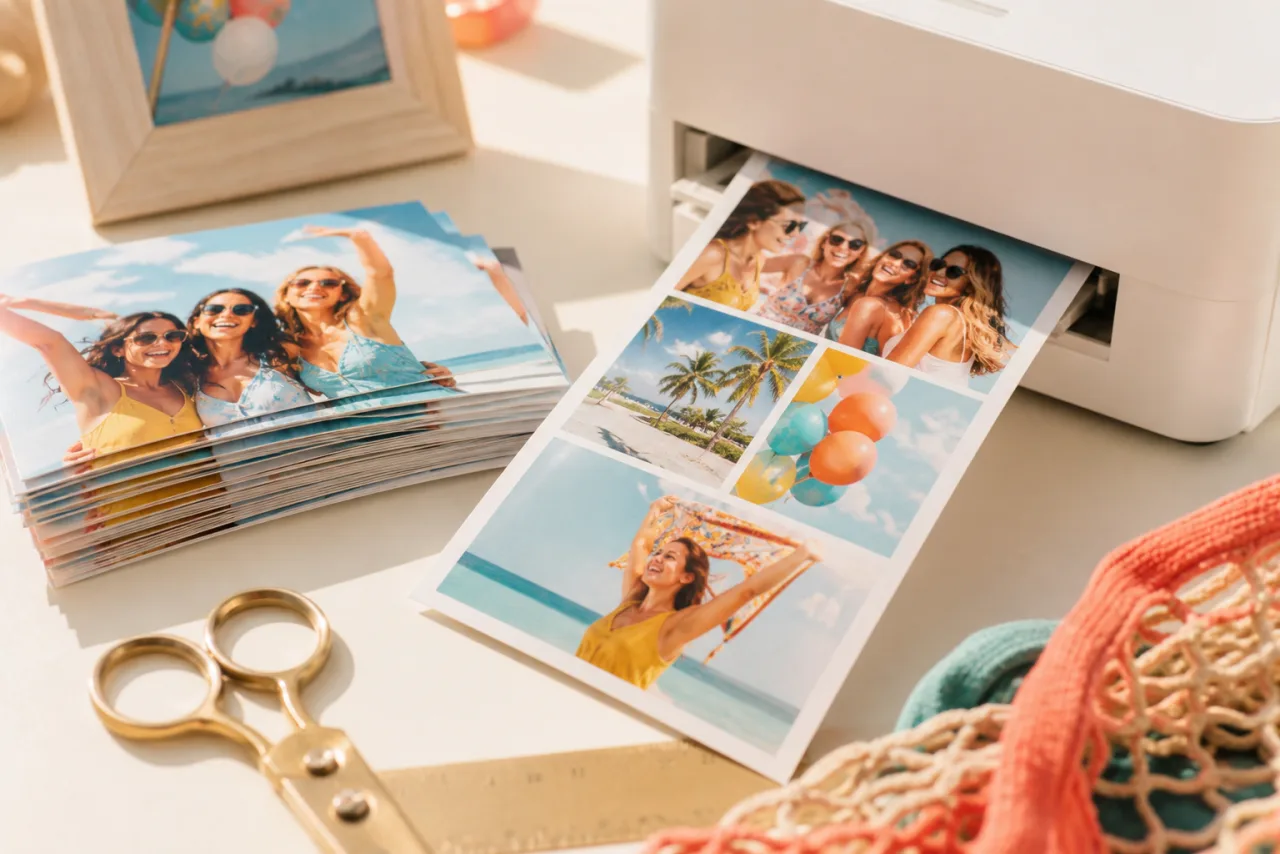
A collage that looks great on a phone can come back from the printer soft, dark and with the caption cut off. None of that is bad luck: it is pixels, margins and color, and all three are decided before you export. Here is what to set, in the order a printer checks it.
1. The short answer
Set the canvas to the print size at 300 DPI, keep the outer 3 mm free of anything important, export in sRGB as PNG or top-quality JPG, and order the exact size you designed. The pixel counts:
| Print size | Pixels at 300 DPI | Typical use |
|---|---|---|
| 4 x 6 in | 1200 x 1800 | Two or three photos, a keepsake |
| 5 x 7 in | 1500 x 2100 | Card, small frame |
| 8 x 10 in | 2400 x 3000 | The standard framed collage, 6 to 9 photos |
| 11 x 14 in | 3300 x 4200 | A wall piece, up to 12 photos |
| 12 x 12 in | 3600 x 3600 | Square frame, 9 photos |
| 16 x 20 in | 4800 x 6000 | Large frame or canvas |
| 24 x 36 in | 7200 x 10800 (3600 x 5400 at 150 DPI) | Poster, 16 to 25 photos |
| A4 (210 x 297 mm) | 2480 x 3508 | Home printer |
| A3 (297 x 420 mm) | 3508 x 4961 | Home printer, large |
The print templates in StudioCollage open at these sizes with the trim margin drawn in, so the only decision left is the layout.
2. Resolution: 300 DPI, and the photo that limits you
DPI (dots per inch) is how many pixels the printer lays down per inch of paper. At 300 DPI a print looks continuous from any distance; at 200 it is acceptable; at 150 it only works for posters seen from across a room. The canvas size in pixels is simply the paper size in inches times the DPI.
The canvas is rarely the problem. The problem is one photo in one cell. A collage is only as sharp as its least sharp cell, so look at the smallest image you are placing, not the biggest:
- A phone photo (3000 to 4000 pixels wide) can fill a cell up to about 10 to 13 inches wide at 300 DPI. In any collage, that is plenty.
- A photo received through a messaging app (often 1200 to 1600 pixels wide) is good for a cell up to 4 or 5 inches.
- A screenshot or a downloaded thumbnail (600 to 800 pixels) prints soft beyond 2 inches. Give it a small cell, or ask for the original.
Upscaling tools can smooth a photo that is slightly short; they cannot recover a face from 400 pixels. When in doubt, use a layout with fewer, larger cells: how many photos to put in a collage works through the trade-off.
Let Auto lay them out, then fix what you want.
Free, no watermark, and your photos stay on your device.
Open StudioCollage3. Bleed, trim and the safe margin
Printers cut paper after printing, and the cut is never perfect to the pixel. Two consequences:
- Bleed. If the collage has a background color or a photo running to the edge, that background must extend beyond the final size, typically 3 mm (about an eighth of an inch, 36 pixels at 300 DPI) on each side. Otherwise a hair-thin white line appears on one edge after the cut.
- Safe margin. Anything that must not be cut (a caption, a date, a face at the edge of a cell) stays at least 6 mm (about a quarter inch, 72 pixels) inside the final edge.
A white border around the collage solves both at once: the border is the bleed, and a slightly uneven cut on white is invisible. If you want the photos to run edge to edge, export with bleed and tell the print service the file includes it. The print presets mark both lines in the editor so you can see what is at risk before exporting.
4. Color and brightness: paper is not a screen
Three adjustments that separate a print that matches the screen from one that disappoints:
- sRGB. Export in the sRGB color space, which is what phones capture and what consumer labs expect. The editor exports sRGB by default; do not convert to anything wider.
- Brightness. Paper reflects light instead of emitting it, so prints look darker, especially on matte paper. If the photos have shadowed faces or dusk scenes, raise the brightness a touch before export, or ask the lab for "no auto-correction" and judge a test print first.
- Pure white gaps. The white between cells is the paper itself when the background is white. It will look exactly as white as the paper, which on a cream or matte stock is not pure white. For a gallery look, choose a glossy or luster paper.
5. File format and export
Export as PNG (lossless) or JPG at the highest quality. Both are accepted everywhere; JPG is a smaller upload. Check two numbers before ordering: the pixel size of the file matches the table above, and the aspect ratio matches the paper (an 8 x 10 is 4:5; a 5 x 7 is 5:7; a 4 x 6 is 2:3). A collage designed at 4:5 and ordered as a 5 x 7 gets cropped by the lab.
In StudioCollage: choose the print size first, so the canvas has the right pixels and ratio, build the collage, then download. There is no resizing step and no resampling: what the lab receives is what you saw, pixel for pixel.
6. Where to print in the US
| Option | Sizes | Good for | Watch out for |
|---|---|---|---|
| Drugstore photo counter (Walgreens, CVS, Walmart) | 4 x 6 to 8 x 10 in an hour, posters in a day | Speed, a gift for tonight, a memorial board | Auto-correction is on by default; glossy only at most counters |
| Online consumer labs (Shutterfly, Snapfish) | All sizes, canvas, metal, books | Large formats, canvas wraps, gifts | Delivery time, frequent cropping of non-standard ratios |
| Pro labs (Mpix, Nations Photo Lab, Printique) | All sizes, many papers | Color accuracy, luster and fine-art papers | Higher price, strict file requirements (read them) |
| Home photo printer | 4 x 6 to A3 depending on the printer | Instant results, test prints | Paper quality matters more than the printer; use photo paper |
| Local print shop | Posters, boards, foam core | Event boards, a 24 x 36 for a party | Ask for the bleed they want before exporting |
Whatever the service, order the size the collage was designed for. A lab will happily print a 4:5 file as an 11 x 14 (a 11:14 ratio), and the difference becomes a sliver cut off two edges.
7. Frames and mats
Standard US frames come in 4 x 6, 5 x 7, 8 x 10, 11 x 14, 16 x 20 and 24 x 36. Designing at one of these means any frame fits. A mat (the cardboard window between frame and print) hides about a quarter inch of the print on each side, so keep the safe margin above in mind, or buy a mat cut to the print size.
For a collage, a mat with a wide border and a simple frame works better than an ornate one: the collage already has a lot going on inside. A white mat on a white-gap collage makes the whole piece read as one clean object.
8. From photos to a print, step by step
- Open StudioCollage and pick the print size (8 x 10, A4, 16 x 20, or a custom size in inches). The canvas is at 300 DPI with the trim margin drawn.
- Choose a layout for your photo count, or press Auto to get several that keep faces whole.
- Drop the photos, reframe the cells, keep captions inside the safe margin.
- Check the smallest photo: if a cell looks soft at 100% zoom, give that photo a smaller cell.
- Download as PNG or top-quality JPG and order the same size at the lab of your choice.








Two layouts that print well at 8 x 10: a 3x3 grid, and a hero over four. Both keep every cell above 700 pixels wide at 300 DPI.
For every other size, screen or paper, see the complete sizes guide.
Frequently asked questions
What resolution does an 8 x 10 collage need?
2400 x 3000 pixels, which is 8 and 10 inches multiplied by 300 DPI. A 3x3 grid on that canvas gives each photo about 780 x 980 pixels, so phone photos are more than enough.
Can I print a collage at Walgreens or CVS?
Yes. Export the collage as a JPG at the print size, upload it on their website or app, and choose the matching print size. Kiosks accept files from a phone or a USB stick. Pick a size the collage was made for, or the kiosk will crop it.
Why does my print look darker than my screen?
Screens emit light and paper reflects it, so every print looks a little darker. If the collage has shadowed faces, raise the brightness slightly before exporting, and avoid very dark backgrounds on matte paper.
PNG or JPG for printing?
Either, as long as the pixel size is right. PNG is lossless and bigger; JPG at maximum quality is visually identical and uploads faster. Never export at a low JPG quality to save space: the compression shows on skin and sky.
Can phone photos be printed as a 24 x 36 poster?
In a collage, yes. A 24 x 36 poster at 150 DPI is 3600 x 5400 pixels; a 4x3 grid gives each photo about 900 x 1800 pixels, which any phone photo covers. One single phone photo blown up to 24 x 36 is another story: check its pixel size first.