How to put two photos side by side on iPhone, Android, Mac, Windows, or online
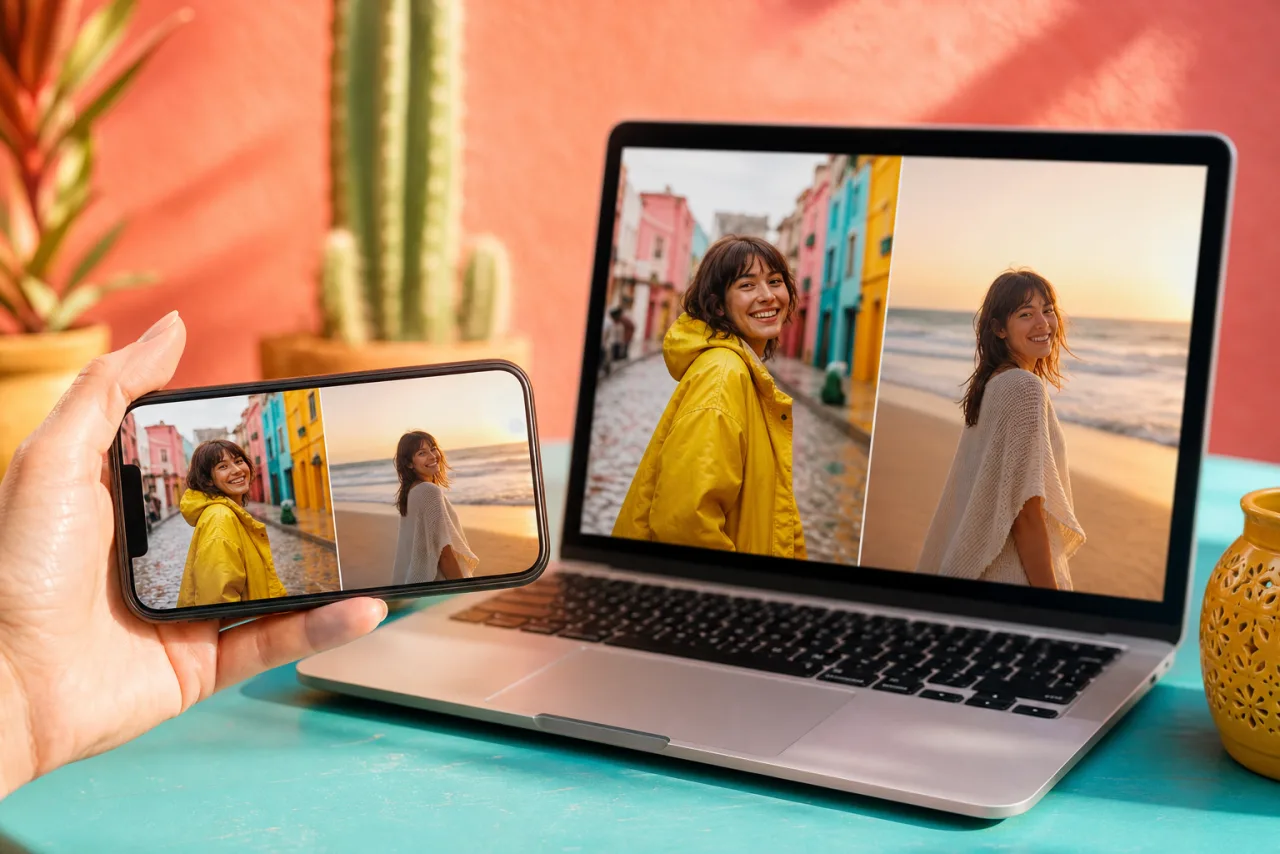
Before and after, then and now, two outfits, two products, two kids on the same day: the two-photo layout is the most useful collage there is, and the one every phone makes hardest. Here is the quickest way on each device, and the one way that works on all of them.
1. The quickest way on each device
| Device | Built-in method | Limits |
|---|---|---|
| iPhone and iPad | Shortcuts app, Combine Images action | No gap control, no text, no format presets |
| Android (Samsung) | Gallery, Create, Collage | Fixed layouts, Samsung styling |
| Android (Pixel and others) | Google Photos, Collage | Applies a style, two-cell layout only side by side |
| Mac | Shortcuts or Keynote | Preview cannot enlarge a canvas |
| Windows 11 | Paint, canvas resize | Manual alignment, no presets |
| Any device, in the browser | StudioCollage, two-photo layout | None of the above; photos stay on the device |
If you do this once, the built-in method is enough. If you do it every week, for comparisons, product shots or a series of posts, the browser method is faster, gives you the gap, the border, the text and the export size, and works the same on every device you own.
2. iPhone: the Shortcuts app
The Photos app cannot combine two pictures, but the Shortcuts app, installed on every iPhone, can. You build the shortcut once and keep it.
- Open Shortcuts, tap the plus button to create a new shortcut.
- Add the action Select Photos and turn on Select Multiple.
- Add the action Combine Images. Set it to Horizontally for side by side, or Vertically to stack. Add a spacing value if you want a gap.
- Add the action Save to Photo Album, name the shortcut, and run it.
The result is saved at the combined resolution of the two photos, which is large and sharp. What you do not get: equal cell sizes (a portrait next to a landscape keeps their different heights), borders, text, or a preset for Instagram or a print. For those, open the two photos in the browser method below; it runs in Safari with nothing to install.
Google Photos on iPhone also works: select the two photos, tap the plus button, choose Collage, pick the two-cell layout. It crops both to the same size, which is often what you want for a comparison.
Let Auto lay them out, then fix what you want.
Free, no watermark, and your photos stay on your device.
Open StudioCollage3. Android: Gallery on Samsung, Google Photos elsewhere
Samsung Galaxy. Open Gallery, long-press the first photo, tap the second, then tap Create (or the three dots) and choose Collage. Pick the two-cell layout, adjust the split by dragging the divider, and save. The output is sized to the screen; fine for a story, small for a print.
Pixel and other phones. Open Google Photos, select the two photos, tap the plus button at the top, choose Collage. Google Photos offers a few styled layouts; the first plain one places the photos side by side with a thin border. Tap Save. The collage is about 2000 pixels wide, enough for any post.
Both methods crop the photos to equal cells, which is right for a comparison but gives you no control over what gets cut. If a face lands on the edge, the browser method lets you reframe each cell by hand, or lets auto collage keep faces whole for you.
4. Mac: Shortcuts, or Keynote in a pinch
Preview opens two images but cannot enlarge a canvas to hold both, so the usual advice (copy one, paste into the other) does not work without cropping. Two ways that do:
- Shortcuts exists on the Mac too, with the same Combine Images action as on the iPhone. Build the same three-step shortcut; on the Mac it can take files from Finder instead of the Photos library.
- Keynote or Pages: drag the two photos onto a blank slide, resize them to the same height, align them with the guides, then export the slide as an image (File, Export To, Images). Keynote exports at the slide resolution, so set a large slide size first if you want a print.
Both are ten-minute jobs the first time. The browser method is one minute and gives a preset for the destination.
5. Windows 11: Paint
The Photos app on Windows 11 edits one image at a time, but Paint can hold two.
- Open the first photo in Paint. Drag the small square handle at the right edge of the canvas to make the canvas twice as wide.
- Open the second photo in another Paint window, select all, copy. Back in the first window, paste, and drag the pasted image to the right half.
- Use Resize (the Image menu) on either photo if the heights differ, then crop the canvas to the result and save as PNG.
It works, but alignment is by eye and every gap is hand-drawn. For anything you will post or print, the next method is both faster and cleaner.
6. Any device: the two-photo layout online
The method that works the same on a phone, a Mac and a PC: open the collage editor in the browser, choose a two-cell layout, drop the two photos in. No app to install, no account, and the photos are processed on your device, never uploaded.
- Open StudioCollage and pick the destination first: Instagram post, story, Facebook cover, print. The canvas is already the right size.
- Choose the two-cell layout: side by side for portraits, stacked for landscapes.
- Drop the two photos. Drag inside a cell to reframe, pinch or scroll to zoom, so the same part of each photo is visible.
- Set the gap (zero for one seamless image, a few pixels for a clean diptych), a border color if you want one, and labels such as Before and After.
- Download as PNG or JPG at the export size of the destination, without watermark.



Side by side with a thin gap, and stacked with no gap. Same photos, same editor, two different stories.
7. Five rules for a comparison that reads
- Same cell size. Equal cells say "compare these"; unequal cells say "this one matters more". For before and after, always equal.
- Same framing. Put the subject at the same place and the same scale in both cells: the horizon at the same height, the face the same size. Reframe inside the cell rather than cropping the originals.
- Orientation decides the direction. Two portraits go side by side; two landscapes go one above the other. Mixing a portrait and a landscape forces a crop: pick a square cell and accept it.
- Gap or no gap. No gap reads as one image split in two, good for a transformation. A thin gap reads as two moments, good for then and now. Thick borders make it look like a frame shop.
- Labels in the corners. Short, small, same font on both sides. The labels should not compete with the photos.
For the export size, the rule from the sizes guide applies: 1080 pixels wide for a post, 1080 x 1920 stacked for a story, 1280 x 720 for a YouTube thumbnail, 300 DPI for a print. For more than two photos, see how many photos to put in a collage.
Frequently asked questions
How do I put two pictures side by side on iPhone without an app?
Use the Shortcuts app that is already on the phone: a three-step shortcut (Select Photos, Combine Images horizontally, Save to Photo Album) saves a side-by-side image to your library. Google Photos and a free website in Safari are the other two ways that need nothing installed.
Can Google Photos put two photos side by side?
Yes. Select the two photos, tap the plus button, choose Collage, then pick the two-cell layout. Google Photos also applies a style to the collage; choose the plain one if you want clean edges.
What size should a side-by-side photo be for Instagram?
1080 x 1080 pixels for the feed (two cells of about 535 pixels), 1080 x 1350 if both photos are portraits, and 1080 x 1920 stacked top and bottom for a story. Export at 1080 pixels wide so Instagram has nothing to resize.
How do I make the two photos the same size?
Put them in cells of the same size and let the cells crop: that is what a collage layout does. If the photos have different ratios, choose the cell ratio that suits the content (square for faces, 4:5 for full-length portraits) rather than stretching one of them.
Can I add before and after labels?
Yes, in any collage editor that has text. Keep the labels small, in a corner of each cell, same font and same color on both sides, so the comparison stays about the photos.