How to make a heart shaped photo collage that does not look cheap
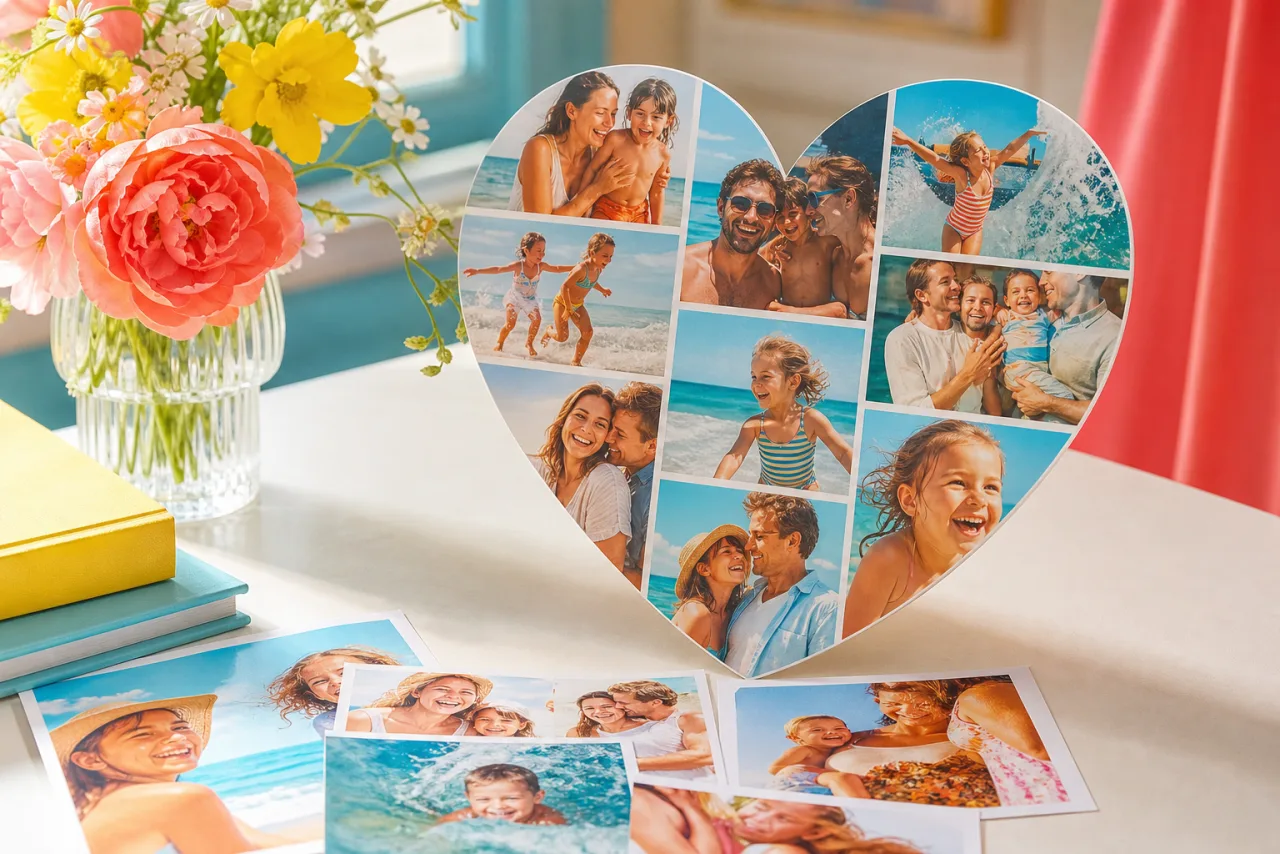
A heart shaped collage is one of those things that looks lovely in an example and disappointing when you make it, and the reason is almost always the photo rather than the tool. A heart mask cuts hard into the corners and pinches at the bottom, so a photo with anything important near an edge comes out wrong. Choose for that and the rest is easy.
1. The short answer
Three decisions, in this order, and the first one matters more than the other two combined.
| Decision | What to pick | Why |
|---|---|---|
| The photo | Centred subject, nothing important near the edges | The mask removes the corners and narrows at the bottom |
| One photo or many | One for a clean result, nine or more for a mosaic effect | Fewer than nine reads as a shape with gaps |
| The canvas | Square, and a background colour the photo is not | A heart in a rectangle leaves dead margins |
2. Choosing a photo that survives the mask
A heart is a hostile shape for a photograph. It takes all four corners, it curves inward at the top middle, and it comes to a point at the bottom. Roughly a third of a square image is removed, and it is removed from exactly the places people put things.
Works well:
- Head and shoulders, subject centred.
- Two people close together, faces near the middle.
- A pet looking at the camera.
- Anything with a soft, uncluttered background: sky, sand, a wall.
Works badly:
- Full body shots, because the feet are in the bottom point.
- Group photos, because the people at the sides are in the corners.
- Landscapes, because the horizon gets cut into a curve and looks broken.
- Anything where text or a sign matters.

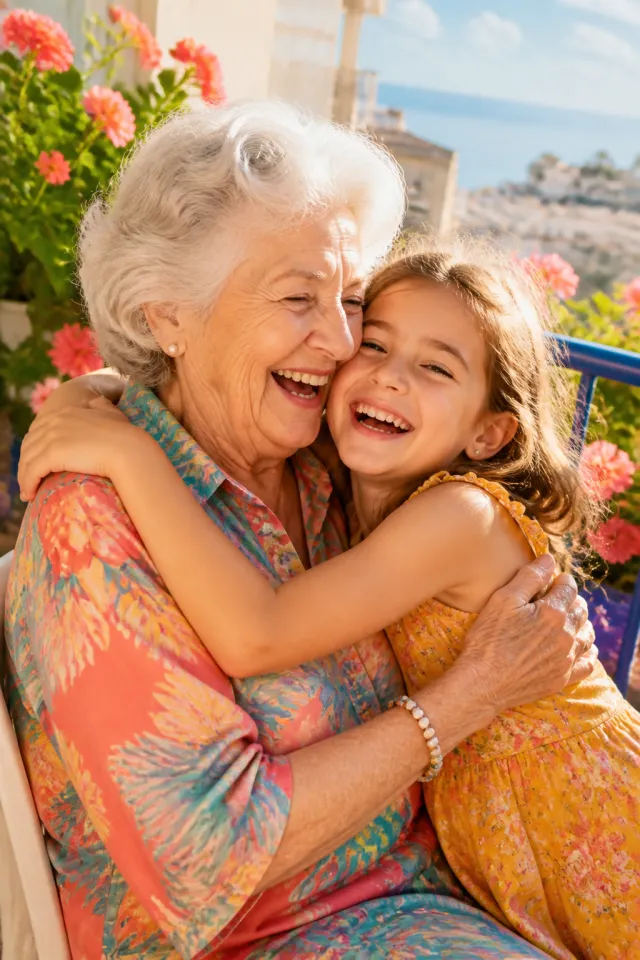
Two photos that survive the mask: subjects centred, backgrounds simple, nothing important in the corners.
Let Auto lay them out, then fix what you want.
Free, no watermark, and your photos stay on your device.
Open StudioCollage3. Method 1: one photo, masked
The cleanest version and the one that looks least like a novelty.
- Set the canvas to square, 1080 x 1080 for a post or 2400 x 2400 for an 8 x 8 inch print.
- Choose the heart layout and drop in one photo.
- Drag inside the shape until the face sits slightly above centre. A face placed dead centre looks low, because the heart is visually top heavy.
- Set a background colour. This is the step people skip and it is what separates a finished result from a cut out.
If the photo is a portrait rather than a square, do not resize it first. Put it in and reframe inside the shape, which is reversible.
4. Method 2: many photos inside the heart
The mosaic version: a grid of small photos with the heart mask over the whole thing. It is the one people picture when they imagine an anniversary gift.
It needs at least nine photos, and it is better with sixteen. With four or six, the mask cuts across so few cells that the result reads as a broken grid rather than a heart. This is the single most common reason a heart mosaic disappoints.
Two practical points. Put the most important photo where the mask takes the least, which is the middle rather than the top. And expect to lose the outer cells almost entirely, so do not put anything you care about there.










Nine cells and twelve. These are the arrangements that go under the mask; the more cells, the more the heart edge reads as a curve rather than as steps.
5. Sizes and printing
| Where it goes | Canvas | Note |
|---|---|---|
| Instagram post | 1080 x 1080 | Square, so the heart fills the frame |
| Story or status | 1080 x 1920 | Heart centred, background fills the rest |
| 8 x 8 inch print | 2400 x 2400 | 300 DPI, the common square frame |
| Card, 5 x 7 inches | 1500 x 2100 | Heart above, room for a message below |
Printers do not cut heart shapes without a die cut order, so a printed heart collage arrives as a square page. If you want the object, cut along the edge yourself: the export gives you a clean line to follow. Everything else about printing is in how to print a photo collage.
6. Make it
Open StudioCollage, set a square canvas, and choose the heart shape. Drop in one photo for the clean version, or nine and up for the mosaic version.
Reframe so the face sits a little above centre, then set a background colour that contrasts with the photo. Download at full resolution: no watermark, so it can be printed or given as it is.
Next: anniversary collage ideas, fifty ideas with their layouts, and every size in pixels.
Frequently asked questions
What photo works best in a heart collage?
One where the subject is centred and there is nothing you mind losing near the edges. The mask cuts the corners away entirely and narrows towards the bottom point, so a full body shot loses feet and a group photo loses whoever is standing at the sides. A head and shoulders portrait, or two people close together, survives it best.
Can a heart collage hold several photos?
Yes, in two ways. Either one photo masked into a heart, which is the cleanest, or a grid of small photos with the heart mask applied over the whole arrangement, which needs at least nine photos to read as a heart rather than as a shape with holes in it.
What size should a heart collage be?
Square, whatever the destination: 1080 x 1080 for a post, 2400 x 2400 for an 8 x 8 inch print. A heart in a rectangular canvas leaves large empty margins at the sides, which is usually not what you want.
What background colour goes behind a heart collage?
Something the photo is not. A warm photo on a soft grey or cream background reads well; a red heart on a red background disappears. Avoid pure white unless the collage is going on a coloured page, because a white background on a white feed makes the heart look unfinished.
Can I print a heart collage?
Yes, and it prints as a square page with the heart in the middle unless you pay for a die cut. If you want an actual heart shaped object, print the square and cut it out: the export has clean edges to follow.